A landscaper named Tom kept a gas pressure washer on his truck all season for cleaning equipment and hardscaping. When winter came, he parked the machine in his shop, topped off the tank with the gas he had on hand, and left it for four months. In spring it turned over but would not start, and when it finally did, it surged and died. The shop found a carburetor clogged with ethanol varnish and a pump that had cracked from a pocket of trapped water. The fix cost hundreds, and every bit of it traced back to skipping an afternoon of winterizing.
Learning how to winterize a gas pressure washer is different from caring for an electric machine, because a gas unit has two systems that need attention: the water pump that freezes and the engine that gums up. Get them both right and the machine fires up on the first pull next spring. This guide walks through the full gas-specific procedure, the fuel decision most owners get wrong, and the pump protectant that prevents the most expensive repair.
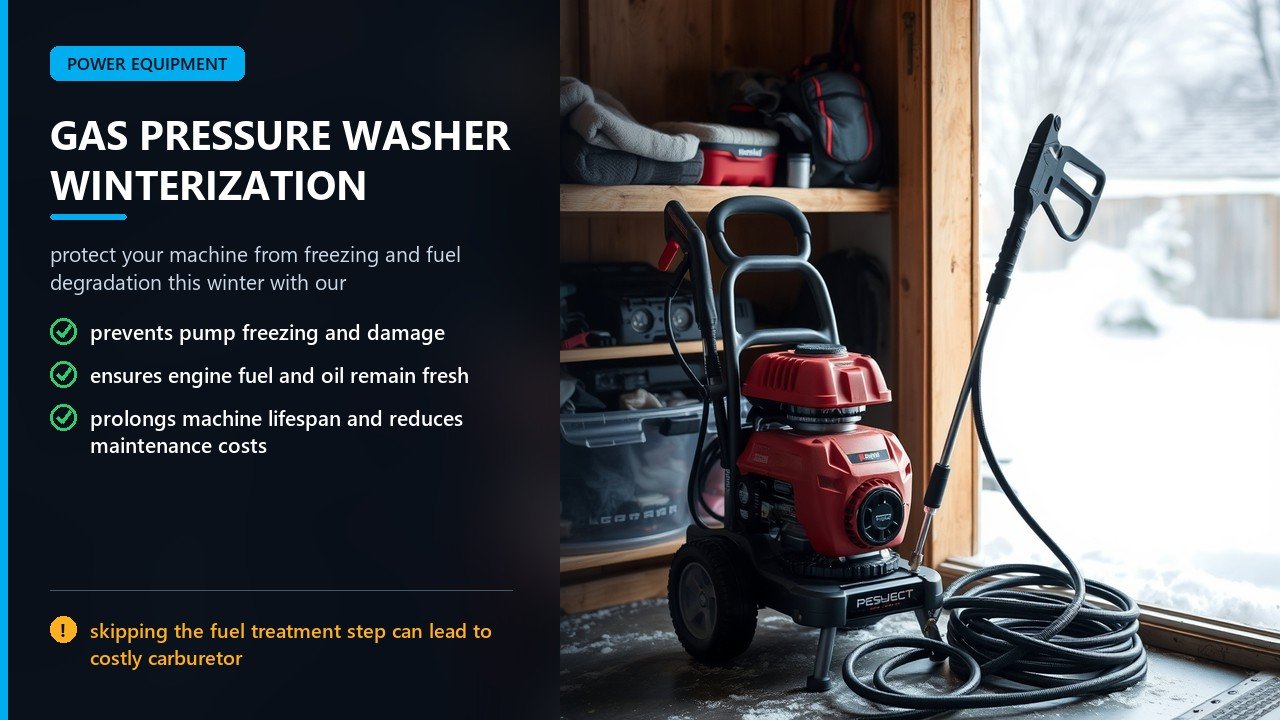
Why Gas Machines Need Extra Care
The engine adds failure points an electric unit does not have.
The pump still freezes. Like any pressure washer, a gas machine holds water in pump passages that cannot be drained by tipping. Freezing water expands and splits the pump manifold or seals.
Fuel goes bad. Gasoline degrades in about 30 days, and roughly 90 percent of U.S. fuel is an ethanol blend that absorbs water and leaves varnish in the carburetor.
The carburetor is vulnerable. Fuel left in the carburetor bowl over winter gums the jets and passages, which is the leading cause of spring no-start problems on small engines.
Oil carries acids. Used engine oil holds combustion byproducts that sit against bearings all winter, which is why an end-of-season oil change beats a spring one.
Batteries drain. Electric-start models slowly lose battery charge, and a dead battery turns a simple start into a chore.
Supplies You Will Need
Gather everything before you start.
Fuel stabilizer. A quality stabilizer mixed into fresh gas, not poured into old fuel.
Pump saver. A pressurized can of antifreeze and lubricant, or RV propylene glycol antifreeze as a backup.
Clean water and a bucket. For flushing detergent out of the system.
Fresh engine oil. The grade specified in your manual.
Basic tools. A wrench for the oil drain and spark plug, plus clean rags for wiping down fittings and hoses.
A short garden hose section. About two feet, useful for feeding pump saver or antifreeze into the inlet.
Step One: Flush the Detergent System
Residue left inside hardens and corrodes.
Run clean water. Drop the detergent tube into a bucket of clean water and run the machine on low pressure for about a minute to clear chemical residue.
Why it matters. Leftover soap turns sticky and gums the valves and injector over winter, causing weak pressure or poor soap draw next season.
Use the low-pressure setting. That is how the injector draws anyway, and it flushes the passages most prone to residue.
Do it after every soap job. A quick clean-water flush after each detergent use keeps the system healthy all year.
Step Two: Decide the Fuel Strategy
This is the decision most owners get wrong.
Option one: stabilized fresh fuel. Add stabilizer to fresh gas, fill the tank about 95 percent full, and run the engine for two minutes so treated fuel reaches the carburetor. A full tank blocks condensation and keeps rubber fuel lines supple.
Option two: drain it dry. Close the fuel valve and run the engine until it dies, or drain the tank and carburetor bowl. This suits plastic tanks and storage longer than a year.
Do not mix half-measures. Adding stabilizer to already-old fuel does nothing, and leaving untreated fuel in the carburetor is the fastest way to a gummed engine.
Stabilizer timing. Pour stabilizer into the fuel can when filling with fresh gas, or dose the tank at the label ratio, then top off with fresh fuel.
Run it outdoors. Never run a gas engine indoors or within 20 feet of a window, door, or vent, because it produces carbon monoxide even with the space open.
| Factor | Stabilized Full Tank | Drained Dry |
|---|---|---|
| Carburetor protection | Treated fuel sits in it | Nothing sits in it |
| Metal tank rust | Full tank blocks condensation | Bare metal can rust |
| Rubber fuel lines | Stay wet and supple | Can dry and crack |
| Best for under 6 months | Best choice | Acceptable |
| Best for over 12 months | Fuel degrades anyway | Best choice |
Step Three: Circulate Treated Fuel
The run-through step is the whole point.
Connect water first. Hook up the garden hose and turn on the supply. Never run the pump without water, because the pump depends on water for cooling and lubrication.
Start and run. Start the engine and let it run for about two minutes so treated fuel cycles all the way through the carburetor.
Why two minutes. Stabilizer sitting in the tank does nothing for the carburetor bowl. Only circulating it reaches the small passages that gum up.
Shut it down. Turn off the engine and the water supply, then squeeze the trigger to bleed off pressure.
Close the fuel valve. If the engine has one, shut off the fuel valve after the treated fuel has circulated.
Step Four: Drain Hoses, Gun, and Wand
Get the water out of every accessory.
Release pressure. With the machine off and the water off, point the gun in a safe direction and hold the trigger until nothing more comes out.
Disconnect everything. Remove the garden hose from the inlet and the high-pressure hose from the pump outlet, then separate the gun and wand.
Drain the high-pressure hose. Hold it vertically and walk the high spots down its length so water runs to one end.
Drain the gun and wand. Hold them tip up, pull the trigger, and rotate through several angles to empty internal chambers.
Shake the nozzles dry. Pull the tips off and dry them, then clear each orifice with the cleaning wire. Debris left in a tip hardens over winter.
Step Five: Purge the Pump
Push the last water out before adding protectant.
Slow recoil pulls. With the engine off and the hoses disconnected, pull the recoil starter about six slow times to push residual water out of the pump.
Do not start the engine. The switch stays off throughout this step. You are only turning the pump to expel water.
Open on both ends. Disconnecting the high-pressure hose leaves the pump open at the outlet so water can escape.
Keep it brief. This is a few seconds of turning, not a dry run. Never run the pump dry for an extended period, because it burns seals fast.
Air option. In a mild climate or for short storage, you can also blow the water out with compressed air at under 30 to 50 PSI using short bursts.
Step Six: Apply Pump Saver
This step prevents the most expensive repair.
What it does. Pump saver is antifreeze, lubricant, and corrosion inhibitor in one. It displaces water, lowers the freezing point of any moisture left, and coats seals and pistons so they do not dry and crack.
How to apply. Screw the pump saver can onto the water inlet, where the garden hose connects, open the valve, and pull the recoil cord slowly two or three times with the engine off. Stop when protectant comes out of the pump outlet.
RV antifreeze backup. Without pump saver, RV propylene glycol antifreeze works for freeze protection, poured through a short hose into the inlet while you pull the recoil until pink fluid exits. It does not condition seals the way pump saver does.
Never automotive antifreeze. Automotive coolant contains additives that harm pump seals and ceramic plungers, and it is toxic to pets and wildlife.
Fill the whole path in severe cold. In very cold climates, push protectant through the high-pressure hose and gun too, not just the pump. See our guide to the best pressure washer pump protector for product comparisons.
| Product | Freeze Protection | Lubricates Seals |
|---|---|---|
| Pump saver | Yes | Yes |
| RV propylene glycol | Yes | No |
| Automotive antifreeze | Not recommended | Harmful |
Step Seven: Change the Engine Oil
Change oil before storage, not after.
Why now. Used oil carries acidic combustion byproducts and moisture that corrode the engine from the inside during storage.
Warm it up. Run the engine briefly so the oil flows, then drain it and refill with the grade specified in your manual.
Pump oil too. If your machine has a serviceable pump with an oil fill and dipstick, check and change the pump oil as well. Our guide to pump oil for a power washer explains oil types and intervals.
Check the air filter. Clean or replace a dirty air filter and reinstall it, so the engine breathes well in spring.
Inspect belts and fasteners. On belt-drive machines, check belt tension, and tighten any loose bolts before storage.
Step Eight: Spark Plug and Battery
A few small steps protect the ignition.
Fog the cylinder. For long storage, remove the spark plug, pour about a teaspoon of engine oil into the cylinder, and pull the starter slowly a few times to coat the piston and cylinder wall.
Clean or replace the plug. Check the plug gap and condition, and replace it if worn, so spring starts are easy.
Disconnect the battery. On electric-start machines, disconnect the negative battery cable to prevent drain during storage.
Store batteries indoors. Bring removable batteries inside and keep them at moderate temperature and partial charge over winter.
Protect the terminals. A light coat of terminal protectant or grease stops corrosion on the battery posts.
Step Nine: Clean and Store the Machine
A clean machine stores better and lasts longer.
Wipe it down. Remove dirt and grime from the frame, wheels, and fittings, since dirt holds moisture and invites corrosion and pests.
Lubricate fittings. Spray a light water-displacing lubricant on quick-connect fittings and the trigger pivot.
Relax the O-rings. Leave nozzles out of their holder so the O-rings are not compressed all winter.
Store it upright and dry. Keep the machine upright, cover it with a breathable material, and keep it off the concrete on a pallet or scrap of plywood.
Keep it away from ignition sources. Store a fuel-filled gas machine away from furnaces, water heaters, and open flames, and never cover a warm engine.
Common Winterizing Mistakes
These errors cause most spring failures.
Adding stabilizer to old fuel. Stabilizer preserves good fuel, it does not repair fuel that has already gone bad.
Skipping the run-through. Untreated fuel stays in the carburetor bowl and gums it. Always run the engine after adding stabilizer.
Tipping to drain the pump. Tipping cannot empty the pump passages. You still need pump saver or air.
Running the pump dry. Extended dry running burns seals. Keep any dry turns brief.
Using the wrong antifreeze. Automotive coolant and windshield washer fluid both harm pressure washer components.
Coiling wet hoses. Coiling before draining traps water in the loops, where it freezes and weakens the liner.
Storing a warm machine covered. Covering a hot engine traps moisture and can be a fire risk. Let it cool first.
Spring Startup Checklist
Bring the gas machine back carefully.
Flush the pump saver. Connect the water supply and run clean water through until the protectant is pushed out and the spray is steady.
Add fresh fuel. Top up with fresh gasoline and check fuel lines for cracks or leaks.
Reconnect the battery. Reattach the negative cable and charge the battery if needed.
Check the oil and plug. Confirm the oil level and inspect the spark plug before starting.
Start outdoors. Run the engine outside, away from windows and vents, and check for steady pressure and a clean spray pattern.
Look for leaks. Inspect fittings for drips from a cracked seal, and address any issue before the first big job.
Protecting the Engine’s Air System
The air side is easy to overlook.
Clean the air filter. A dirty filter restricts airflow and causes rich running and hard starting. Tap it out or replace it before storage.
Cover the intake. A clean rag or intake cover keeps dust and pests out of the carburetor over winter.
Check the spark arrestor. Some engines have a spark arrestor screen that clogs with carbon. Clean it so the engine exhausts freely.
Inspect fuel lines. Look for cracks or hardening, and replace any fuel hose that is brittle before it leaks.
Seal air leaks. Tighten the air filter housing and carburetor mounting bolts so the engine does not run lean in spring.
Between Jobs During Winter
If you keep using the machine in cold weather, adapt.
Drain after every use. Any time the machine may sit in freezing temperatures, drain the pump and hoses and apply a quick pump saver treatment between jobs.
Keep fuel treated year-round. Using stabilized fuel in winter prevents carburetor issues even during short idle periods.
Warm up before use. Let the engine warm before heavy load, and never pour hot water into the inlet to thaw a cold machine, which can damage seals.
Store unfrozen between uses. If possible, keep the machine in a heated space between winter jobs rather than in a truck bed that drops below freezing overnight.
Mind the water source. Garden hoses and taps can freeze overnight, so drain the supply hose too.
Winterizing a Hot Water Gas Unit
Add one critical step for heated machines.
The coil holds water. Hot water machines always hold water in the heating coil, which cannot be drained by tipping. That water must be displaced.
Displace with protectant or air. Circulate pump saver or antifreeze through the pump and coil until it exits, or blow the coil out with compressed air. It may take one to two gallons to fill the coil depending on its size.
Mind the burner. Keep the burner and fuel system clean, and cover the machine so dust and moisture do not settle on the burner components.
Service the fuel filter. A dirty burner fuel filter causes hard starting in spring, so replace it before storage.
Never leave the coil wet. A cracked coil from freezing is an expensive repair, so treat this step as mandatory.
Troubleshooting After Storage
Diagnose the common spring problems.
Will not start. Usually a clogged carburetor from stale fuel or a fouled spark plug. Drain the old fuel, clean the carburetor, and install a fresh plug.
Starts then dies. Often a fuel delivery issue from a partially clogged jet or a stuck float. A carburetor clean usually solves it.
No or weak pressure. Frequently a frozen and cracked pump, a clogged inlet screen, or worn seals. Check for leaks and inspect the screen first.
Water leaking under the pump. Almost always a cracked housing or seal from freeze damage, which means pump replacement or rebuild.
Rough running. Check the air filter, spark plug gap, and fuel quality, and confirm the spark arrestor is clear.
Pump saver still in the system. Flush it out with clean water before use so it does not affect soap or the surfaces you clean.
Frequently Asked Questions
How do I winterize a gas pressure washer? Flush the detergent, decide on stabilized fresh fuel or a drained system, run treated fuel through the engine, drain the hoses, gun, and wand, purge the pump, and apply pump saver. Then change the engine oil and store the machine dry and above freezing with a breathable cover.
Should I drain the gas or use stabilizer? For a normal four to six month winter, stabilized fresh fuel in a nearly full tank is simplest and protects the carburetor, tank, and lines. For storage beyond a year, drain the tank and carburetor completely.
Do I need to run the engine after adding fuel stabilizer? Yes. Run it about two minutes so treated fuel reaches the carburetor bowl. Stabilizer sitting in the tank does nothing for the carburetor passages that actually gum up.
Can I use automotive antifreeze in my gas pressure washer? No. Automotive coolant harms pump seals and ceramic plungers and is toxic to pets and wildlife. Use pressure washer pump saver or RV propylene glycol antifreeze instead.
How do I get water out of the pump? With the engine off and hoses disconnected, pull the recoil starter about six slow times to push water out, then apply pump saver to displace whatever remains inside the pump passages.
Should I change the oil before or after winter? Before storage. Used oil carries acids and moisture that corrode the engine during the off-season, so change it at the end of the season once the engine is warm.
How do I store a gas pressure washer safely? Keep it upright, dry, off the concrete, and away from furnaces or open flames. Use a breathable cover rather than sealed plastic, and store it above freezing if possible to avoid condensation.
What if my gas pressure washer will not start in spring? A no-start most often means a clogged carburetor from stale fuel or a pump that cracked from trapped water. Clean the carburetor, use fresh fuel, and check for leaks before assuming the worst.
How much pump saver do I need? One can is usually enough for a cold water pump. Press it through the inlet until protectant exits the outlet, which means the passages are full. Hot water coils may need more than one can.
Can I use windshield washer fluid to winterize? No. Its methanol content attacks carbon steel coils and internal components, and it is not formulated for pressure washer pumps. Always use a product made for pressure washers, such as pump saver.
Can I use a fuel additive instead of draining the tank? A quality fuel stabilizer mixed with fresh fuel and circulated through the engine protects the carburetor, tank, and lines. It preserves good fuel but cannot repair fuel that already went bad, so always start with fresh gas.
Do gas pressure washers freeze easily? Yes. Any water left in the pump, hose, or spray gun can freeze and crack components overnight, which is why draining and applying pump saver are essential before freezing temperatures arrive in your area.
Do I need to winterize if the machine stays in a heated garage? Full freeze protection may be optional, but flushing detergent, protecting the pump, and preparing the fuel system still prevent corrosion, mineral deposits, and difficult spring starts.
How long does winterizing take? About fifteen minutes to an afternoon, depending on whether you change the oil and service the air filter. The pump saver step alone takes only a few minutes and prevents the costliest repair, so never skip it.
Final Thoughts on How to Winterize a Gas Pressure Washer
How to winterize a gas pressure washer comes down to protecting two systems with one routine. The water side needs the pump drained and filled with pump saver so nothing freezes or dries out. The engine side needs treated fresh fuel, a run-through to reach the carburetor, a fresh oil change, and a battery check. Neither half works alone, and together they are the difference between a machine that starts on the first pull and one that visits a repair shop.
Tom’s gummed carburetor and cracked pump were both preventable, and both are lessons many owners learn once. Flush the detergent, settle the fuel, purge and protect the pump, change the oil, and store the machine dry and above freezing. Spend an afternoon each autumn, keep a can of pump saver on the shelf, and the same gas pressure washer will serve you reliably for years, firing up every spring without argument.
The real secret is that winterizing a gas pressure washer is not one task but two, and both take only minutes. The water system needs draining and pump saver, and the engine needs treated fuel, fresh oil, and a look at the plug and battery. Neither is difficult, and together they cover every part of the machine that fails after storage. Do it before the first frost, write down what you did, and the first pull next spring will reward the small effort you made months earlier.