The first time a pressure washer pump starts to cavitate, it sounds like gravel rolling around inside the machine. The operator stares at the wand, the hose, the gun, and nothing looks wrong. Then it hits them: the garden hose feeding the machine cannot keep up with a 5 GPM pump, and the machine is starving for water. That is the moment most cleaners discover why pressure washing tanks exist. A tank is not just a way to carry water to a job where there is no spigot. It is the buffer that keeps a hungry pump fed and healthy no matter how weak the customer’s supply is.
Tanks are one of the most misunderstood parts of a cleaning setup. Buy too small and the machine starves anyway; buy too large and you overload the trailer or truck with water weight. Choose the wrong type and you either overspend on capacity you never use or miss the buffer function that would have protected your pump. Getting the tank right comes down to a little math, an understanding of the two main tank roles, and matching the tank to your machine’s flow.
This guide covers why pressure washing tanks matter, the difference between a buffer tank and a supply tank, how to calculate the size you actually need, tank materials and shapes, plumbing and fittings, mounting and weight limits, detergent tanks, and the mistakes that lead to starved pumps and overloaded trailers.
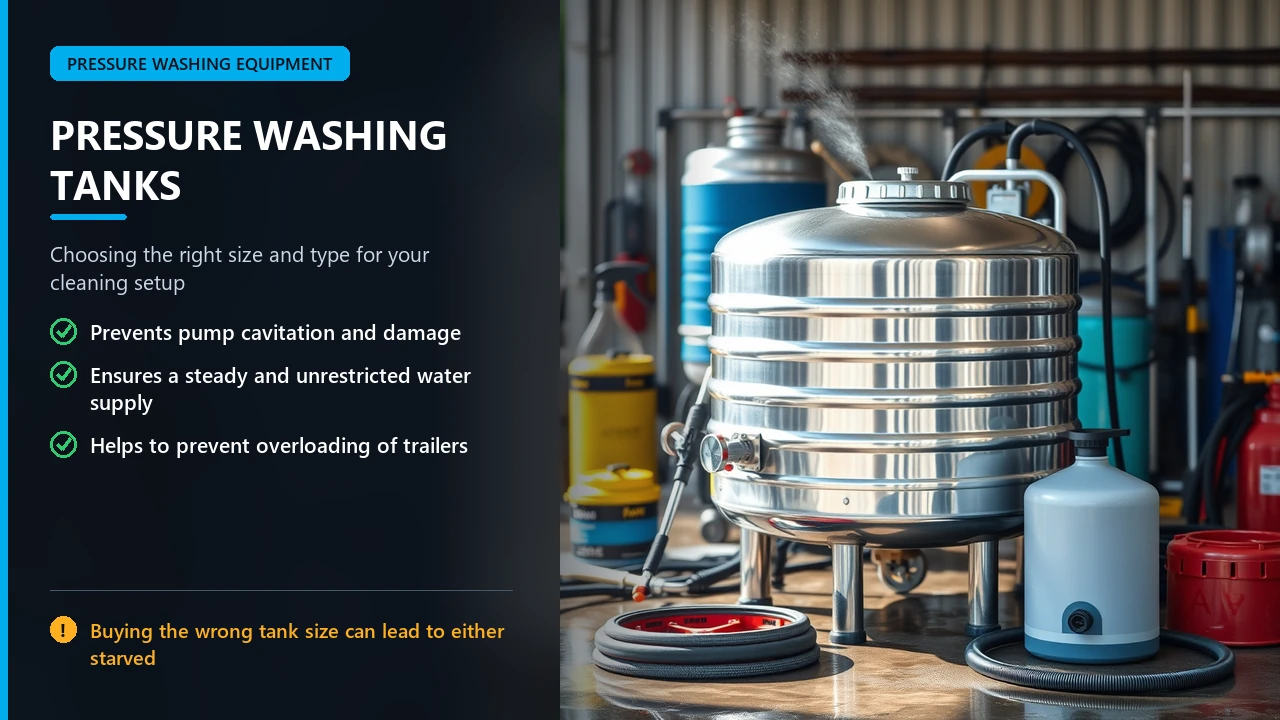
Why Pressure Washing Tanks Matter
A pressure washer pump needs a steady, unrestricted supply of water at its inlet. Most household spigots deliver only three to five gallons per minute, and some deliver less. A four GPM machine running from a marginal spigot is right at the edge of starvation every second. Add a second machine, a long inlet hose, or a partially open valve, and the pump cavitates, loses pressure, overheats, and wears out early.
A pressure washing tank fixes this by decoupling the pump from the spigot. The tank fills slowly from whatever water is available, and the pump draws freely from the tank. The customer’s weak flow only needs to average out over the job rather than match the pump’s peak demand. The tank also lets you work where no water exists at all, and it steadies flow so the pump never gulps air.
There are two jobs a tank can do, and understanding which you need is the key decision:
- Buffer duty. The spigot refills the tank while you work, and the tank covers the difference between the spigot’s modest flow and the pump’s high demand. This is the most common and most important use.
- Supply duty. There is no water source, so the tank carries all the water you will use. Capacity here is limited only by how much weight you can carry.
Buffer Tank Versus Supply Tank
The distinction matters because it drives sizing. A buffer tank only has to cover the gap between supply and demand over a short period, while a supply tank has to hold everything you will use from start to finish.
Consider a 4 GPM machine working from a spigot that delivers 3 GPM. The tank only needs to make up the 1 GPM difference. Over a 30-minute stretch, that is 30 gallons of stored water. A 100 gallon buffer tank gives you a huge margin, plus reserve for when the spigot slows further or you shut it off while walking to a new area.
Now consider the same machine with no water source. At 4 GPM, a 200 gallon tank lasts about 50 minutes of continuous trigger time, which is usually more than one job. A 325 gallon tank extends that to over an hour and a half. Here capacity directly sets your working window, and you feel it every time the tank empties mid-job.
Most mobile cleaners run a hybrid: a supply tank that doubles as a buffer, sized to cover the longest stretch between water sources while still smoothing out a weak spigot when one is available. That dual-purpose approach is why the most popular setups cluster around 200 to 325 gallons.
How to Calculate the Right Tank Size
Sizing a tank starts with your flow rate in gallons per minute and the length of your longest job or longest run between water sources. The math is simple division, but the consequences of guessing wrong show up at the worst time.
| Tank Size | Water Weight | Runtime at 4 GPM | Runtime at 5.5 GPM |
|---|---|---|---|
| 65 gallons | ~542 lb | ~16 min | ~12 min |
| 100 gallons | ~834 lb | ~25 min | ~18 min |
| 125 gallons | ~1,043 lb | ~31 min | ~23 min |
| 200 gallons | ~1,668 lb | ~50 min | ~36 min |
| 225 gallons | ~1,877 lb | ~56 min | ~41 min |
| 325 gallons | ~2,711 lb | ~81 min | ~59 min |
| 525 gallons | ~4,379 lb | ~131 min | ~95 min |
Two facts jump out. First, water is heavy: about 8.34 pounds per gallon, so a 200 gallon tank adds roughly 1,670 pounds of water before you count the tank itself, the machine, the hose, and the trailer. A small single-axle trailer with a 3,500 pound axle rating can only carry a 200 gallon tank when it is full, and that is before any other equipment. Second, runtime scales linearly with capacity, so if your jobs routinely run 45 minutes of trigger time, a 100 gallon tank will leave you stranded.
Here is the practical method. Estimate your realistic trigger time per job, add a safety margin, divide by your GPM, and round up to the next standard tank size. If a water source is usually available, size down and rely on buffer duty; if it rarely is, size up and respect your weight limits. When in doubt, lean toward buffer plumbing over brute capacity. Our guide to 100 gallon water tanks for rigs walks through a representative example in detail.
Tank Types and Shapes
Beyond buffer versus supply, tanks come in several shapes and roles, each suited to different rigs.
| Type | Best For | Notes |
|---|---|---|
| Vertical cylindrical | Compact footprint on trailers | Taller; check clearance and center of gravity |
| Horizontal / loaf | Low profile, stable on trucks | Long footprint; watch axle balance |
| Box / rectangular | Space-efficient between wheel wells | Often smallest capacities (5–200 gal) |
| Leg / slim tank | Fitting beside equipment | Space-saving for tight rigs |
| Baffled tank | Mobile service with lots of driving | Internal baffles reduce dangerous slosh |
| Detergent / chemical tank | Isolating soaps from main water | Keep chemicals separate from drinking-grade water lines |
The two choices that matter most are shape and baffling. Shape decides where the weight sits and whether the tank fits your layout. Baffling decides whether the water surges against the tank walls every time you brake. A baffled tank costs more but prevents the load shift that can make a truck feel unsettled in traffic. For a rig that drives a lot between jobs, baffling is worth every dollar.
Tank Materials
Most pressure washing tanks are polyethylene plastic, sometimes called poly. A smaller share are steel. The choice affects weight, durability, chemical compatibility, and cost.
| Material | Pros | Cons |
|---|---|---|
| Polyethylene (poly) | Light, rustproof, chemical resistant, UV-inhibited, long-lived | Can bulge under heavy loads; not for pressure use |
| Steel | Very strong, rigid, high capacity | Heavier, can rust, needs coating |
| Fiberglass | Strong and corrosion resistant | Expensive; less common for mobile rigs |
Poly tanks dominate the market for good reason. They are lightweight relative to their capacity, they never rust, they resist many chemicals, and modern UV-inhibited resins hold up to years of sun exposure. A quality poly tank can last decades on a mobile rig. Steel tanks appear where rigidity and very large capacities matter, but the weight penalty and rust risk make them less common for typical cleaning trailers.
One limitation to remember: poly storage tanks are for atmospheric pressure only. They are not pressure vessels, so never pressurize one to push water to the machine. The pump draws from the tank; the tank never drives the pump. This is standard, unpressurized water storage, nothing more.
Plumbing and Fittings
A tank is only as good as its plumbing. Poorly plumbed tanks cause air-locking, cavitation, and flow restrictions that make a big tank perform like a small one.
- Outlet sizing. Match the tank outlet and pickup line to your pump’s inlet. A large machine needs a generous line; undersized plumbing starves the pump no matter the tank size. Common outlet sizes run from 1/2 inch on small box tanks to 2 inch on large cylindrical tanks.
- Bulkhead and pickup. Fit a bulkhead fitting at the lowest usable point so gravity feeds the pump, and use a pickup that does not suck air when the tank is low.
- Inlet and vent. An inlet for the fill hose and a vent to let air escape as the tank fills and drains. A float valve automates refilling from a spigot.
- Overflow. Plumb an overflow near the top so a forgotten spigot cannot flood the trailer.
- Filter. Put a filter or inlet screen on the supply line to protect the pump from grit.
- Buffer bypass. A proper buffer setup uses a small bypass loop so the pump can draw smoothly while the tank refills, with crush-proof hose for the inlet.
A tidy buffer tank plumbing kit typically includes crush-proof inlet hose and bypass plumbing sized for a range of machine flows. Getting this right is what turns a tank from a heavy bucket into a pump-protecting buffer. Our guide to building a self-contained supply from a water tank covers the full plumbing picture.
Mounting and Weight Limits
Mounting a tank safely is mostly about weight distribution and secure fastening. Because water is so heavy, an incorrectly placed tank can overload an axle or make a vehicle dangerous.
- Respect payload and axle ratings. Weigh the full tank plus all equipment against the trailer or truck’s rated capacity, not the dry figure.
- Center loads over or slightly forward of the axle. Heavy tanks behind the axle lighten the steering end and cause sway.
- Strap and bolt the tank. Use rated straps and, where the tank allows, bolt it through the frame with large backing plates so it cannot shift.
- Mind the center of gravity. Prefer a lower, wider tank on a trailer and a shorter tank on a truck bed where height matters.
- Allow for expansion and slosh. Leave a little clearance and use a baffled tank so moving water does not stress the straps or the structure.
- Protect the tank from abrasion. Pad contact points so vibration does not wear through the plastic over time.
For a full walkthrough of mounting, see our guide to making your rig self-sufficient with a water tank, which covers secure installation alongside capacity planning.
Detergent and Chemical Tanks
Many rigs carry a second, smaller tank for detergent or chemicals, separate from the main water supply. This separation matters for two reasons.
First, it prevents cross-contamination. You never want soap or a downstream chemical backing up into your main water supply, especially if that supply also serves drinking-grade uses elsewhere. Second, it lets you switch detergents without flushing the entire water tank, so one tank can hold a house-wash mix while the main tank stays clean.
Detergent tanks range from a few gallons for a simple soap feed to dozens of gallons for high-volume soft washing. Plumb them with their own pickup line, and where precise ratios matter, use metering or a proportioner. Dedicated chemical-resistant poly tanks handle aggressive mixes better than the tanks used for fresh water, so choose accordingly.
Do You Even Need a Tank?
Not every setup does. If you always work from a strong municipal spigot that comfortably exceeds your pump’s flow, a tank mainly adds weight and cost. A flow test answers the question quickly: attach a hose, fill a measured bucket, and time how long it takes. If your spigot delivers well above your pump’s GPM, you can often skip the tank for that site.
But field conditions are rarely ideal. Spigots run slow, hoses add friction loss, multiple machines divide the supply, and remote jobs have no water at all. A tank insurance policy is cheap compared to a burned-out pump and a lost job. That is why most professional cleaners carry one, even when they rarely need its full capacity. The tank earns its place the first time a customer’s weak spigot would otherwise have stalled the machine.
Frequently Asked Questions
What size water tank do I need for pressure washing?
Divide your realistic trigger time per job by your pump’s GPM. For example, 40 minutes at 4 GPM needs 160 gallons, so a 200 gallon tank gives comfortable margin. If a water source refills the tank, a smaller tank works as a buffer.
What is the difference between a buffer tank and a supply tank?
A buffer tank smooths the gap between a modest spigot and a hungry pump while the spigot refills it. A supply tank carries all the water for jobs with no water source. Many rigs combine both roles in one tank.
How much does a full water tank weigh?
Water weighs about 8.34 pounds per gallon, so a 200 gallon tank holds roughly 1,670 pounds of water, plus the tank’s own weight. Always compare the full weight against your trailer or truck’s payload rating.
Are poly tanks good for pressure washing?
Yes. Polyethylene tanks are light, rustproof, chemical resistant, and UV-inhibited, and they last for many years. They are used as unpressurized storage only, never as pressure vessels.
Can I use my pressure washer without a tank?
If your water source reliably exceeds your pump’s flow, yes. Test the source with a bucket and timer. If it is marginal or unavailable on some jobs, a tank protects the pump and keeps you working.
Do I need a baffled tank?
If your rig drives between jobs with a partially filled tank, baffles reduce slosh and improve stability. For a stationary or short-haul setup, a standard tank is usually fine.
Filling, Draining, and Freeze Protection
A tank that is easy to fill and easy to drain saves time on every job, and a tank that survives winter saves a replacement purchase every spring.
Filling. The fill method depends on the site. Where a spigot is available, a float valve automates refilling so you can keep working while the tank tops up. Where none is, you haul water from a local source between jobs, and fill time becomes part of your route planning. Size the fill inlet and hose so a full fill does not take longer than necessary; a tiny inlet on a big tank turns every refill into a coffee break.
Monitoring level. A clear sight tube or a simple level gauge lets you see how much water remains without opening the lid. Knowing your level at a glance prevents the two worst outcomes: running dry mid-job and overfilling when you forget the spigot is open.
Draining. Plumb a drain at the lowest point so you can empty the tank completely for transport, storage, or cleaning. Residual water left sitting in a tank grows stagnant and can pick up odor and biofilm, so drain and rinse periodically, especially before winter.
Freeze protection. Water expands when it freezes, and a frozen tank can crack at the fittings or split entirely. In cold climates, drain the tank fully before storage, open valves and drains, and store it under cover. If the tank is mounted and cannot be removed, leave it drained and cap the openings so nothing nests inside. The same discipline that protects a pump in winter protects a tank; our article on building a self-contained supply covers the winter routine in context.
Keeping it clean. Fresh water tanks need occasional cleaning to stay sanitary, particularly if the tank ever holds anything other than clean water. Rinse with clean water, avoid leaving detergent residue behind, and never store chemicals in a tank you also use for fresh water. That habit protects both the tank and anything downstream.
Buying New or Used, and Where to Shop
Tanks are simple enough that used units can be excellent values, but a quick inspection protects you from a cracked or chemically contaminated tank.
- Inspect for cracks and stress marks near fittings, lids, and seams, where freeze damage and over-tightening usually show first.
- Check the fittings and bulkheads. Stripped or cross-threaded ports are hard to repair and may disqualify the tank.
- Smell the inside. A strong chemical or fuel odor means the tank held something other than water and should not be used for fresh supply.
- Confirm the material and thickness. Thick-walled, UV-inhibited poly lasts far longer than thin budget tanks.
- Look for a manufactured-date label to gauge how much sun exposure the tank has endured.
- Weigh the price against new. Used tanks sometimes sell for a fraction of new, but verify the capacity and condition before comparing.
Shopping sources range from pressure washer dealers and equipment suppliers to farm and agricultural stores, and general online marketplaces. Dealers and equipment suppliers are the safest bet because they stock fittings, lids, and straps that match, and they can advise on capacity for your machine. Farm stores often carry a broad range of poly capacities at competitive prices. For anyone building a rig, buying the tank and plumbing from one source avoids the frustration of mismatched parts. Our overview of self-sufficient rig setups and the broader self-contained supply build both help you source and assemble the right combination.
Final Thought
Pressure washing tanks solve two problems at once: they keep a hungry pump fed and they let you work where no water exists. Choosing the right one comes down to a simple sizing calculation, an honest look at your water sources, and a clear grasp of the difference between buffer duty and supply duty.
Do the math on trigger time and GPM, respect the weight limits of water, plumb the tank so the pump never starves, and separate chemicals into their own tank. Do those things and your tank becomes the quiet backbone of a reliable rig, the part that lets the expensive machine run at full strength every single job. Choose it wrong and you will spend your days chasing cavitation, dealing with overloaded axles, and wishing you had done the math first.