The pump is the heart of any pressure washer. When it wears out, leaks, or fails to build pressure, the machine is useless until it is replaced. A 3500 PSI pressure washer pump is one of the most common replacement ratings, fitting mid-size gas machines used for serious home and light commercial cleaning.
This guide explains what a 3500 PSI pump is, the types available, how to choose the right replacement, how to install it, and how to maintain it so it lasts.
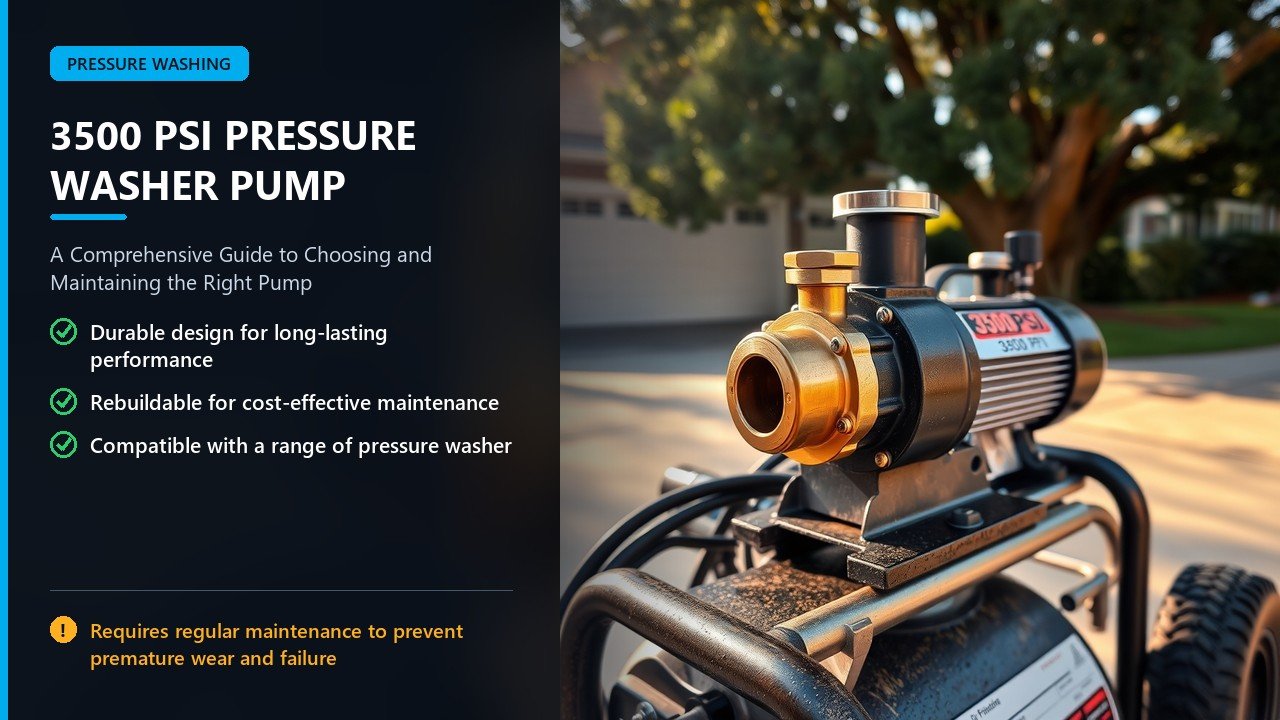
What a 3500 PSI Pump Is
A 3500 PSI pump is the water-moving component rated to produce up to 3,500 pounds per square inch of pressure, usually paired with a flow of around 2.5 to 3.0 GPM.
- Replacement pump — swaps onto an existing engine or motor.
- Pressure-rated — designed for a specific PSI and GPM.
- Triplex or axial — the two main pump designs.
- Flange or shaft driven — mounts to the engine’s output.
- Brass or aluminum head — affects durability.
- Serviceable — good pumps can be rebuilt with seal kits.
Quick Note: A pump’s rating is a ceiling, not a target. The engine must be strong enough to drive it, and the flow must match the machine’s design.
Triplex vs Axial Pumps
| Type | Characteristics |
|---|---|
| Axial cam | Compact, cheap, not usually serviceable |
| Triplex (plunger) | Durable, rebuildable, handles detergent |
Short Note: For a 3500 PSI machine used regularly, a triplex pump is worth the extra cost. It lasts longer and can be rebuilt rather than replaced.
Pump Specifications That Matter
| Specification | Why It Matters |
|---|---|
| Maximum PSI | Must meet or exceed the machine’s rating |
| Flow (GPM) | Must match the engine’s capability |
| Shaft diameter and flange | Must bolt to your engine |
| Shaft direction and rotation | Must match the drive |
| Inlet/outlet port sizes | Must fit existing hoses and fittings |
| Head material | Brass outlasts aluminum |
Matching the pump to the engine is essential. A pump that is too large for the engine will not reach its rating; one that is too small wastes the engine’s power.
Signs Your Pump Needs Replacing
- Loss of pressure that is not caused by a nozzle or leak.
- Pulsing or surging flow that persists.
- Water leaking from the pump body or under the oil.
- Oil that turns milky — water has entered the crankcase.
- Loud knocking or grinding during operation.
- Pump will not prime despite a good water supply.
- Cracked housing after a freeze.
Note: Some of these symptoms come from worn seals or valves that a rebuild kit can fix. Replacing the whole pump is only necessary when the damage is internal and severe.
Choosing the Right Replacement Pump
| Step | Action |
|---|---|
| 1. Read the old pump’s label | Note model, PSI, GPM, and shaft size |
| 2. Check the engine | Confirm horsepower and shaft type |
| 3. Measure the flange | Match bolt pattern and shaft diameter |
| 4. Match fittings | Inlet, outlet, and chemical injector ports |
| 5. Match rotation | Same direction and shaft style |
| 6. Confirm rating | At least the machine’s PSI and GPM |
Buying by the old pump’s brand and model number is the safest route. If that is not possible, match the specifications carefully.
Flange vs Shaft-Driven Pumps
| Mounting | Details |
|---|---|
| Direct / flange | Pump bolts to the engine; shaft couples directly |
| Belt-driven | Pump runs on a pulley; common on larger machines |
| Hollow shaft | Engine shaft passes through the pump |
Most home gas washers use a direct-coupled flange pump. Larger commercial units often use belt drive, which allows different speed ratios between engine and pump.
Installing a Replacement Pump
| Step | Action |
|---|---|
| 1. Disconnect power/fuel | Make the machine safe to work on |
| 2. Drain water | Remove hoses and empty the pump |
| 3. Remove the old pump | Unbolt flange or loosen belts |
| 4. Check the key and coupling | Replace if worn |
| 5. Fit the new pump | Align carefully; tighten evenly |
| 6. Add pump oil | If the pump has an oil crankcase |
| 7. Reconnect and test | Check for leaks and proper pressure |
Note: Many triplex pumps ship without oil or with shipping oil that must be drained and replaced. Always check the pump’s manual before the first run.
Rebuild vs Replace
| Situation | Best Option |
|---|---|
| Worn seals, minor leak | Rebuild with a seal kit |
| Worn valves or plungers | Rebuild with a valve/plunger kit |
| Cracked housing or scored manifold | Replace the pump |
| Cheap axial pump failure | Replace (often upgrade to triplex) |
| Repair cost near new price | Replace the pump |
Rebuilding is cheaper and keeps a quality pump in service. Replacing makes sense when the damage is structural or the pump is not worth rebuilding.
Essential Accessories for a New Pump
- Inlet filter / strainer to keep debris out.
- Thermal relief valve to protect against heat.
- Unloader valve to regulate pressure and bypass.
- Chemical injector for downstream soap.
- Proper pump oil matched to the pump’s spec.
- Seal and valve kit for future service.
- Pressure gauge to monitor performance.
An unloader valve and thermal relief are not optional extras — they protect the pump from the two most common causes of early failure: deadheading and heat.
Maintenance Schedule
| Task | Interval |
|---|---|
| Check pump oil level | Every use |
| Inspect for leaks | Every use |
| Clean inlet filter | Every use |
| Change pump oil | First 50 hours, then per manual |
| Check unloader and relief valve | Seasonally |
| Winterize | Before freezing |
Good pump maintenance is mostly simple: clean oil, clean water, and protection from heat and freezing.
Protecting the Pump
- Never run dry. Water is the pump’s lubrication and cooling.
- Never deadhead. Do not hold the trigger closed for long.
- Use an unloader and thermal relief.
- Filter the inlet water.
- Winterize to prevent freeze cracks.
- Keep pump oil clean.
- Avoid running hot water unless the pump is rated for it.
Short Note: Deadheading and running dry are the two fastest ways to destroy a pump. An unloader and a habit of triggering the gun prevent both.
Troubleshooting
| Problem | Likely Cause | Fix |
|---|---|---|
| No pressure | Worn valves, air lock, low water | Bleed air; check supply; rebuild valves |
| Pulsing | Air entering on the suction side | Seal suction connections |
| Oil turns milky | Failed seals; water in crankcase | Rebuild with a seal kit |
| Leak at the head | Worn head or piston seals | Replace seals or pump |
| Loud knock | Internal bearing or plunger damage | Replace the pump |
Diagnosing the pump early — before it is run with a known fault — often turns an expensive replacement into a cheap rebuild.
Matching Pump to Engine
| Engine Size | Typical Pump Range |
|---|---|
| Small (4–5 HP) | 2,000–2,500 PSI |
| Medium (6–7 HP) | 2,500–3,000 PSI |
| Large (8–10 HP) | 3,000–3,500+ PSI |
Oversizing the pump gives no benefit; it simply cannot reach its rating on an engine that lacks the power to drive it.
Common Mistakes to Avoid
- Buying a pump without measuring the shaft. It will not mount.
- Ignoring rotation direction. The pump will not pump.
- Reusing worn couplings and keys. Causes wobble and vibration.
- Forgetting pump oil. Destroys a new pump in minutes.
- Running without an unloader. Deadheading breaks the pump.
- Skipping the inlet filter. Debris scores the valves.
- Leaving water in over winter. Cracks the housing.
How Pump Flow and Pressure Interact
Pressure and flow are linked by the pump’s design and the engine driving it. Understanding the relationship prevents mismatched purchases and disappointed results.
| Concept | Meaning |
|---|---|
| Flow (GPM) | Volume the pump moves per minute |
| Pressure (PSI) | Force the pump builds against restriction |
| Cleaning units | PSI × GPM — total cleaning power |
| Unloader | Sets and caps the working pressure |
Short Note: A pump with high flow and moderate pressure often cleans better than one with high pressure and low flow, because surface contact and rinsing improve with volume.
Unloader Valves Explained
| Type | Behavior |
|---|---|
| Flow-actuated | Bypasses water when the trigger is released |
| Pressure-actuated | Opens at a set pressure and recirculates |
| Trapped-pressure | Allows a little pressure to remain on the line |
An unloader protects the pump whenever the gun is closed and gives each machine its working pressure. A stuck or misadjusted unloader is a leading cause of persistent pressure problems.
Tools and Parts for a Pump Swap
- Correct-size wrenches for flange and fitting bolts.
- Thread sealant for threaded fittings.
- New key and coupling if worn.
- Pump oil matched to the spec.
- Seal and valve kits if rebuilding instead.
- Inlet strainer and new O-rings.
- A helper for heavy pump removal.
Having everything on hand before you start keeps the job short and avoids a half-installed machine sitting in the yard.
Breaking In a New Pump
| Step | Action |
|---|---|
| Fill oil correctly | To the sight glass or mark |
| Bleed air | Run with the gun open until flow is steady |
| Check for leaks | Tighten fittings as needed |
| Verify pressure | Compare to rating with a gauge |
| Change oil after break-in | Per the manual’s interval |
Note: Never run a new pump dry. Fill the crankcase, connect water, and bleed the air before the first start.
Extending Pump Life
- Avoid deadheading — trigger the gun regularly.
- Keep the inlet supplied with clean, unrestricted water.
- Use the pump oil specified.
- Watch the oil level and color.
- Flush detergent from the system.
- Winterize before freezing.
- Fix small leaks early.
Most pump failures trace back to running dry, deadheading, contaminated water, or freezing. Avoiding those four causes is most of pump care.
Safety
- Disconnect the engine before servicing the pump.
- Relieve all pressure before removing hoses or fittings.
- Wear eye protection when testing a repaired pump.
- Let the engine cool before working near it.
- Support heavy pumps so they do not drop during removal.
- Use the correct pump oil — never engine oil unless specified.
- Keep the work area clear of water and fuel spills.
Pumps store pressure and hold water and oil. Depressurizing and disconnecting before any work prevents injuries and messes. For general safety context, see the Occupational Safety and Health Administration and the U.S. Consumer Product Safety Commission.
Real-World Scenarios
Scenario 1: A worn triplex pump. The machine loses pressure and the crankcase oil turns milky. A seal rebuild kit restores full output for a fraction of a new pump’s cost.
Scenario 2: A cracked axial pump. After a freeze, the housing cracks and water pours out. The owner upgrades to a triplex pump that can be rebuilt next time.
Scenario 3: A mismatched replacement. A buyer orders a pump without checking the shaft diameter, and it will not mount. Measuring first avoids the return.
Cost of Pumps and Repair
| Item | Typical Range |
|---|---|
| Axial replacement pump | $60–$120 |
| Triplex replacement pump | $150–$350 |
| Seal rebuild kit | $25–$70 |
| Valve kit | $30–$80 |
| Shop labor (if hired out) | $80–$200 |
On a quality triplex pump, rebuilding is usually the best value. On a cheap axial pump, replacement — ideally with an upgrade — is usually wiser.
Frequently Asked Questions
How do I know what pump my pressure washer needs? Read the old pump’s label and match its PSI, GPM, shaft size, flange pattern, and rotation.
Can I replace an axial pump with a triplex? Sometimes. It depends on the engine shaft and mounting. When it fits, it is a worthwhile upgrade.
Is a 3500 PSI pump serviceable? Triplex pumps usually are, with seal and valve kits. Axial pumps often are not.
What oil does a pressure washer pump use? A dedicated pump oil matched to the manufacturer’s specification — not engine oil unless the manual says so.
How long should a pump last? A well-maintained triplex pump can last for years. Neglected pumps, or those run dry or frozen, fail much sooner.
Why does my new pump lose pressure? Common causes are air in the suction line, a worn or wrong nozzle, a bad unloader, or insufficient water supply.
Final Thoughts
A 3500 PSI pressure washer pump is a common replacement part for mid-size gas machines. The keys to a good outcome are matching the pump to the engine, choosing a rebuildable triplex design where possible, and protecting it with an unloader, a clean inlet, and correct oil.
Diagnose before you replace, rebuild when you can, and winterize every year. For related reading, see our guides on the gas engine pressure washer and the pressure washer pipe.