Pressure Washer Hoses and Fittings: How to Match Them as a System
A pressure washer hose and its fittings are not two separate purchases; they are two halves of one connection system. The hose carries the water, but the fittings decide whether it reaches the gun without leaking, blowing off, or starving the pump. Get the pairing wrong and even a premium hose fails at the joint, while a modest hose with the right fittings runs clean for years. Buying pressure washer hoses and fittings as a matched set is the difference between a setup that works and one you fight every weekend.
This guide explains how hoses and fittings work together. It covers hose sizes, pressure ratings, and construction; the fitting types and threads you will meet; how to match ends, ratings, and flow; how to build a leak-free joint; and the mistakes that cause most hose-and-fittings failures. By the end you will know how to choose a hose and fittings that belong together for your machine.
Quick answer: Match the hose inner diameter to your machine’s flow, choose a hose rated above your working pressure, then fit the ends your gun and pump accept — usually 3/8” NPT or M22 on the hose and 1/4” or 3/8” quick connect for accessories. Keep every fitting rated at or above the hose, seal threaded joints correctly, and replace O-rings when they wear.
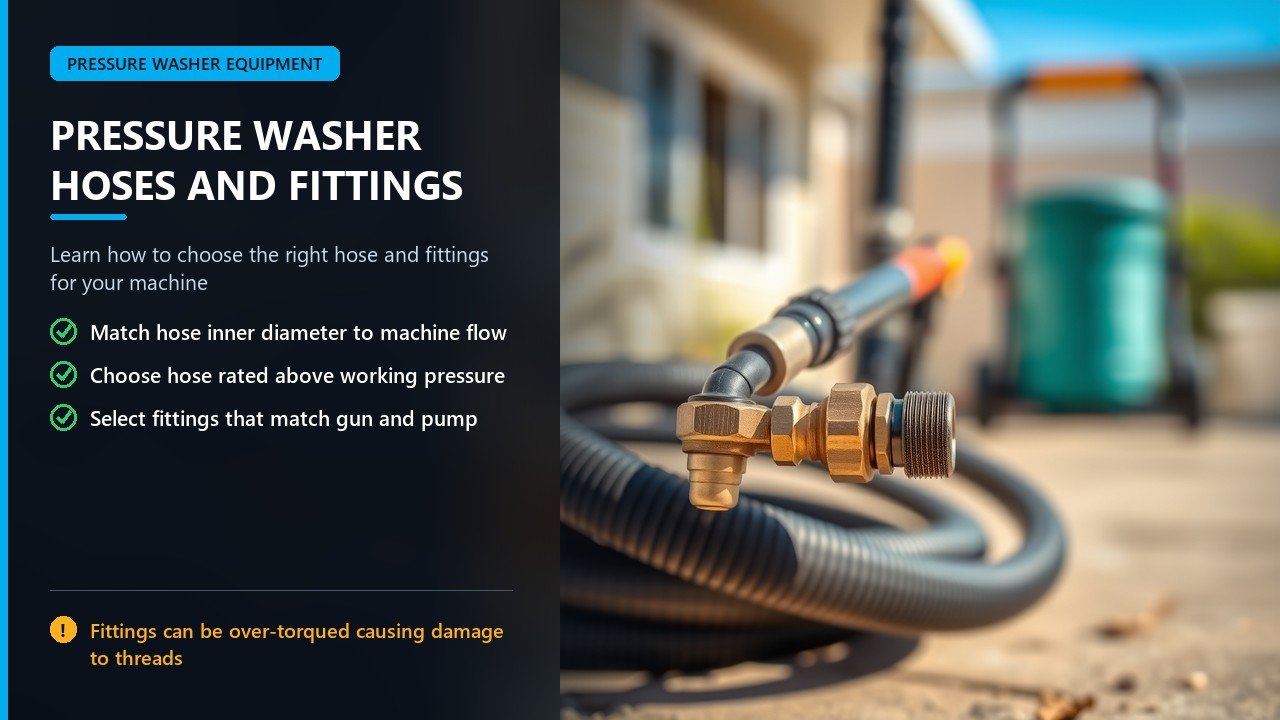
Why Hoses and Fittings Belong Together
The pressure washer hose is only as good as its ends. A 4,000 PSI hose with a mismatched or underrated fitting becomes a 2,000 PSI hose at the joint, and the joint is where failure happens. Fittings also set the flow path: an oversized hose choked down to a small fitting gains nothing, and a large fitting on a small hose invites turbulence and leaks.
Think of the assembly as a chain, where the weakest link sets the limit. The hose, the crimped or threaded ends, the quick-connect coupler, and the O-ring seals all share the load. A leak or a blow-off is usually a mismatch somewhere in that chain rather than a defect in one part. That is why the sensible approach is to select the hose and the fittings together, as a single spec, rather than buying a hose now and hunting for ends later. Our overview of choosing and caring for pressure washer hoses is a good companion to this guide.
The payoff of matching them is reliability. When the hose diameter suits the flow, the pressure rating covers the machine, and the ends thread properly, the setup runs cool and quiet with no drips. When any one of those is off, you get leaks, pressure loss, or a sudden disconnect at the worst moment. The rest of this article works through each piece so you can get the whole system right.
Hose Sizes and Pressure Ratings
Hose size is stated as inner diameter, and it controls flow. The common sizes are 1/4”, 5/16”, 3/8”, and 1/2”. Small electric washers often use 1/4” or 5/16” hose, most residential machines use 5/16” or 3/8”, and high-flow and commercial machines use 3/8” or 1/2”. The larger the inner diameter, the more water the hose can move with less friction and less pressure loss over distance.
Pressure ratings climb with size and construction. A light 1/4” hose may be rated around 2,000 to 3,000 PSI, a 5/16” around 3,000 to 4,000 PSI, and a 3/8” or 1/2” hose 4,000 to 6,000 PSI. The rating should exceed your machine’s working pressure with margin; most hoses are built to burst at three or four times their working rating for safety. Never run a hose at or above its rating just because it fits.
Construction affects both rating and life. A single wire braid (roughly R1 or 1SN) is typical for 4,000 PSI pressure washer hose, while a double wire braid (R2 or 2SN) pushes toward 6,000 PSI. The cover matters too: rubber stands up to heat and abrasion and suits hot-water use, while a lighter polymer or thermoplastic cover is fine for cold water only. For the detail on size, see how to choose a 1/4-inch hose by sizing, ratings, and safety and why high-flow machines use 3/8-inch hose.
The Fittings You Will Meet
Pressure washer fittings come in a few families, and knowing them prevents most compatibility headaches. The most common are threaded fittings in M22, NPT, and garden-hose thread, plus quick-connect couplers in 1/4” and 3/8”. Each has a place in the system.
M22. This metric thread appears on many trigger guns and pump outlets, usually in a 14 mm or 15 mm variant. M22 14 mm is the most common on cold-water machines; some brands, including Karcher-style units, use a 15 mm version or a proprietary plug. M22 fittings are often paired with an internal O-ring and are designed to be hand-tightened rather than wrenched.
NPT. National Pipe Thread fittings, commonly 3/8” or 1/4”, are the standard on many hose ends, pumps, and accessories. They seal on the threads and need a sealant or tape. NPT is tapered, so it tightens as it screws in; it should be snug but not forced, since overtightening can crack a manifold.
Garden hose thread. The 3/4” GHT connection feeds the pump inlet from a garden hose. It is a straight thread with a rubber washer, not a tapered pressure thread, and it should never be used on the high-pressure side.
Quick connect. QC couplers let you snap accessories on and off. The 1/4” size is standard for nozzles and many lances, while 3/8” QC serves higher-flow pro hoses and guns. QC fittings seal with an O-ring and must match both size and series to lock and seal correctly. Our guide to hose fitting types and threads covers the full range.
Matching Hose Ends to Your Machine
Before you buy, identify both ends of your connection: what the hose must attach to at the pump or gun, and what it must feed at the nozzle or accessory. Most hoses come with a fixed or swivel 3/8” NPT male end to thread into the gun or pump, and a quick-connect or threaded end at the other. Adapters bridge the gaps.
The pressure washer world contains a common trap: NPT and British Standard Pipe Parallel (BSPP) threads look similar but do not seal against each other. Forcing them damages threads and guarantees leaks. If a fitting will not screw in smoothly by hand, stop; the thread is wrong. A proper adapter for M22, GHT, and quick connect solves most mismatches without improvisation.
A swivel end is worth seeking on the gun side, because it lets the hose rotate instead of twisting and kinking as you move. Combined with a coupling that joins two hoses, swivels keep long runs manageable. When you extend or replace a hose, match the end types exactly and keep the pressure rating of every piece at or above the machine’s rating. For a matched approach, see our guide to a hose and gun kit.
Matching Flow, Length, and Pressure Drop
Hoses and fittings do more than connect water; they shape it. A hose that is too small for the flow creates friction and drops pressure before the water reaches the nozzle, so the machine feels weak. A hose that is too long does the same, because friction loss grows with length. Fittings with narrow internal passages add their own restriction.
As a rule, match the hose inner diameter to the machine. A 2 to 3 GPM machine runs well on 5/16” or 3/8” hose; a 4 GPM machine wants 3/8” or larger; high-flow commercial units want 1/2”. Length is a balance between reach and loss. A 50-foot run is the residential sweet spot, while a 100-foot run works if the hose is large enough. Our explainers on a 50-foot hose and on length, diameter, and lost pressure put numbers to the trade-off.
Fittings should never be the narrow point. A 3/8” hose choked to a 1/4” fitting loses flow, and a 1/4” quick connect on a high-flow machine can throttle it. Keep the flow path as consistent as possible from pump to nozzle, and choose fittings rated for the flow and pressure your machine produces. When hose, length, and fittings all suit the flow, the machine delivers its full performance at the nozzle. For a value-focused look at the whole set, see the guide to value hoses and fittings.
Building a Leak-Free Connection
Threaded joints need the right sealant. Tapered NPT threads seal on the threads, so wrap them with two or three turns of PTFE tape or apply a liquid thread sealant, leaving the first thread clear so tape does not enter the water path. Turn fittings hand-tight, then snug with a wrench a quarter turn at most. Over-tightening distorts threads and cracks manifolds, especially on aluminum and brass.
Fittings that seal on an O-ring, such as M22 and quick connects, are different. They rely on the O-ring, not the threads, so they need only to be hand-tight. Wrenching them down can crush or split the O-ring and cause the very leak you are trying to stop. Inspect O-rings before assembly, keep spares, and replace any that are nicked, flattened, or hard. Standard hoses use nitrile (NBR) O-rings; for hot water, EPDM or Viton seals last longer, as noted in the fittings reference from Pressure Washer Match.
Quick-connect couplers deserve a clean seat. A grain of grit on the O-ring prevents sealing, so rinse couplers before use and keep them capped when idle. If a quick connect drips, remove it, clean the seat, and check the O-ring; a two-minute fix restores a dry joint. For the wider art of assembling these joints correctly, see setting up every joint the right way and building a leak-free connection.
Common Mistakes to Avoid
The most frequent error is mixing thread standards. NPT, M22, and GHT do not interchange, and forcing a mismatched fitting ruins threads and leaks forever. A close second is ignoring pressure ratings: a hose rated 4,000 PSI paired with a 2,000 PSI fitting becomes a 2,000 PSI assembly, and the joint is the failure point.
Another mistake is oversizing the fitting on a small hose, which creates turbulence and does nothing for flow, or undersizing it on a large hose, which throttles the machine. Using a garden-hose thread fitting on the high-pressure side is another common error, since GHT is not made for pressure and will fail. Finally, neglecting O-rings leads to mystery drips that owners blame on the hose; more often, the seal is simply worn.
Avoiding these errors is mostly a matter of checking the spec before you buy. Confirm the thread type and size at every connection, confirm the pressure rating of each part, match the fitting bore to the flow, and keep a small stock of O-rings and thread tape. Do that and nearly every hose-and-fittings problem disappears. Our match-the-thread and connector-hose guides reinforce the point.
Troubleshooting Leaks
When a joint leaks, work through the likely causes in order. First, check the O-ring or seal: a missing, pinched, or hardened O-ring is the most common culprit on quick connects and M22 fittings. Second, check the thread match; a cross-threaded or wrong-standard fitting will always leak. Third, check the sealant; under-taped NPT threads weep, while over-applied tape can block the passage.
If the leak is at the hose end itself, the crimp or threaded swivel may be damaged, especially if the hose was pulled hard or run over. A damaged end means the hose must be repaired or replaced. A worn quick-connect coupler can also lose its grip and drip; replacing the coupler is usually cheaper and faster than diagnosing it further, as covered in the hose reference from Pressure Washer Match.
Pressure loss without a visible leak points to a different problem: a restricting fitting, a collapsing or kinked hose, or an undersized diameter. If the machine feels weak and the joints are dry, check the flow path for a bottleneck. Fixing the restriction restores performance as surely as sealing a leak. And if your pump starves, never overlook the fittings and connections on the inlet side, where a clogged screen or loose fitting can ruin supply.
Choosing for Your Machine
Start with the machine’s flow and pressure, then build the hose-and-fittings set to match. For a small electric washer at 1.5 GPM, a 1/4” or 5/16” hose with matching ends is plenty. For a 3 GPM residential gas machine, choose 3/8” hose rated at least 4,000 PSI with 3/8” NPT or M22 ends and a swivel. For a 4 GPM commercial machine, go 3/8” or 1/2” hose with fittings rated to match.
Then confirm the end types. Identify what threads your pump outlet and gun inlet use, and buy a hose with those ends, or add adapters. Keep the whole assembly rated above the working pressure. The SIMPSON accessory range shows how hoses, guns, and fittings are offered as compatible sets, and the Canpump help pages explain matching parts for a given machine.
Buying a matched kit is often the safest route, since the manufacturer has already paired hose, ends, and ratings. If you build your own, keep every part at or above the machine’s rating and write down the thread types so future replacements are simple. The Grainger hose selection is useful for confirming specs and sizes.
Care and Maintenance
Care extends the life of both hose and fittings. Coil the hose in large loops rather than tight bends, store it out of direct sun, and keep it from hot surfaces and vehicle tires. At the end of use, relieve pressure through the gun, disconnect the water, and drain the hose so nothing sits inside. Empty fittings and hoses do not corrode or freeze.
Inspect the ends each season. Look for cracked swivels, frayed crimps, worn O-rings, and damaged threads. Replace O-rings proactively and keep a spare set, since they are cheap and the source of most drips. Re-tape any NPT joints you open. A little preventive care keeps the whole system tight and the pump happy.
Freezing is the seasonal danger. Water trapped in a hose or fitting can expand and split it, so drain everything before cold weather and store the setup indoors. Follow the same freeze protection you would apply to the pump itself. With basic care, a matched hose-and-fittings set will outlast several replacements of a mismatched one.
Hot Water vs Cold Water Hoses and Fittings
Temperature changes what hose and fittings you can safely use. Cold-water pressure washers top out around 140°F, and most standard hose and nitrile O-rings handle that easily. Hot-water machines run far hotter, often 200°F to 250°F or more, and that heat breaks down ordinary rubber covers, softens standard seals, and shortens the life of anything not built for it.
For hot water, choose a hose with a rubber cover and a rating that states the higher temperature, and fit EPDM or Viton O-rings instead of nitrile. Hot-water hose is often wrapped or insulated to protect the operator and the hose itself, and it usually carries a two-wire braid for the higher pressures involved. The fittings must also be rated for the heat; a cold-water quick connect may weep or seize when hot water runs through it.
If you are unsure, match the accessory rating to the machine’s maximum temperature, not your usual working temperature. Running a cold-water fitting on a hot-water machine is a common cause of premature failure and leaks. The same care that governs pressure ratings applies to temperature ratings, and treating them as separate specs prevents surprises. A sizing and safety primer helps you read both ratings together.
Kits vs Buying Separately
You can build a hose-and-fittings setup two ways: buy a matched kit, or assemble the parts yourself. Each has advantages, and the right choice depends on how much you value certainty versus flexibility.
A matched kit removes the guesswork. The manufacturer has already paired the hose, the ends, and the ratings, so the parts fit and carry compatible pressure limits. Kits are ideal for owners who want a proven setup or who are replacing a worn assembly. They cost a little more, but they save the time and risk of a mismatch, and they are the safest option for anyone unsure about thread types. The hose and gun kit guide shows what to check inside a kit.
Buying separately gives you more control. You can choose a longer or larger hose, add a swivel, or switch to a better quick connect, then fit ends to suit your machine. This route suits owners who already know their thread types and want to optimize for reach or flow. The catch is that every part must match on thread, size, and rating, so it demands more attention. Building from parts is worth it when a kit does not offer the length or quality you want.
Either way, confirm compatibility before you commit. If you build your own, keep the pressure rating and flow path consistent and keep the thread types consistent. If you buy a kit, verify it fits your machine’s connection points. The fitting types guide is a useful checklist whether you buy a kit or parts.
Repairing and Replacing Fittings
Fittings are the most repairable part of the system, which is good news for owners. A dripping quick connect usually needs only a new O-ring, and a weeping threaded joint often needs fresh thread tape. These are inexpensive fixes that take minutes and restore a dry connection without replacing the hose.
When a hose end fails — a cracked swivel, a frayed or leaking crimp — you have two choices: replace the hose or fit a repair end. Reusable barbed fittings and clamps let you cut off the failed end and install a new one, which extends the life of an otherwise sound hose. The repair costs a fraction of a new hose and is a good skill to have, though the repaired end must be rated and assembled correctly to hold pressure.
If the hose itself is kinked, bulging, or damaged along its length, repair is not worth it; replace it. A bulging hose is a burst waiting to happen, and no fitting will fix a compromised tube. Judge honestly between a quick repair and a full replacement. Our guide to building a leak-free connection walks through replacing ends and sealing joints.
Frequently Asked Questions
What fittings does a pressure washer hose use? Common ends are 3/8” NPT male, M22 (14 mm or 15 mm), and quick connect in 1/4” or 3/8”. The inlet uses 3/4” garden hose thread. Match the thread to your gun and pump.
Can I use any hose with any fitting? No. The fitting must match the thread type and size, be rated at or above the hose and machine pressure, and suit the flow. Mismatched threads leak or fail.
Is M22 the same as 3/8 NPT? No. M22 is a metric thread; 3/8” NPT is a US tapered pipe thread. They do not interchange, and forcing them damages threads.
How do I stop a quick connect from leaking? Clean the seat and replace the O-ring. Quick connects seal on the O-ring, so a dirty or worn seal is the usual cause of drips.
What pressure rating should my hose and fittings have? At or above your machine’s working pressure, with margin. Most hoses burst at three to four times their working rating.
Can I join two pressure washer hoses? Yes, with a proper coupling rated for the pressure and flow. A coupling and swivel let you extend reach and reduce twisting.
Why is my pressure washer losing pressure at the hose? Often a restricting or undersized fitting, a kinked or collapsing hose, or a partly blocked inlet. Check the flow path for bottlenecks.
Should I buy a hose and fittings as a kit or separately? A kit is safer for most owners because the hose, ends, and ratings are already matched. Buying separately gives more control over length, size, and quality but requires you to confirm thread, size, and pressure compatibility for every part.
Final Thoughts
Hoses and fittings are one system, and treating them that way is the key to a setup that works. Match the hose inner diameter to your machine’s flow, choose a pressure rating above your working pressure, and fit the end types your gun and pump accept. Seal threaded joints correctly, respect O-ring fittings by hand-tightening them, and keep every part rated at or above the rest.
Get those basics right and the leaks, blow-offs, and pressure loss that plague mismatched setups largely vanish. Check the spec before you buy, keep a few spare O-rings and some thread tape on hand, and care for the assembly through the seasons. A well-matched hose and fitting set quietly does its job for years, letting the machine deliver the full pressure and flow you paid for, with no drips and no surprises.